Test your old deadbolt. The lock must turn freely without any pressure being put on the door.

Remove the old lock and strikeplate. Please retain your original lock.
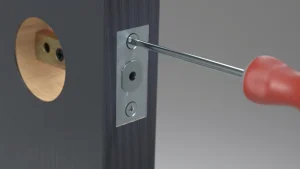
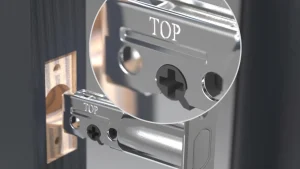
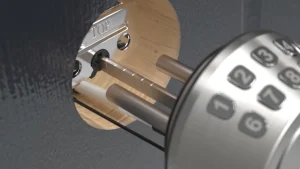
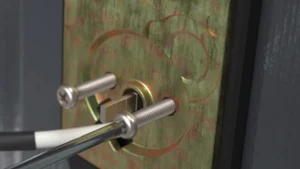
Install the Deadbolt+, ensuring the latch is oriented as shown below:
Rotate the spindle into a vertical position.
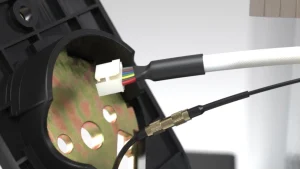
Feed the cables under the latch.
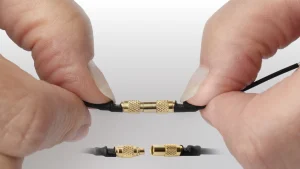
Connect the black NFL lead using the attached connectors.
Please note that when removing the smart Deadbolt+ in the future, please do not pull on the wires. Please use the finger grips provided.
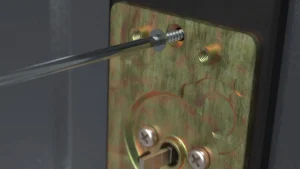
Feed the second cable through the backplate.
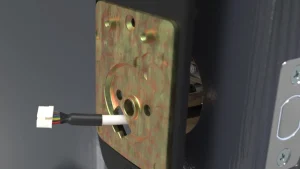
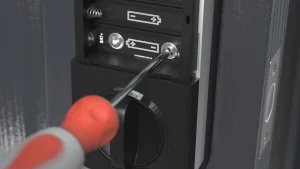
Fix the backplate to the lock using the supplied screws.
Use a suitable fixing to secure the backplate to the door.
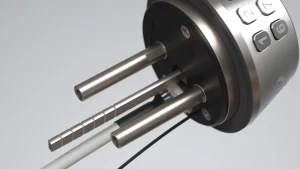
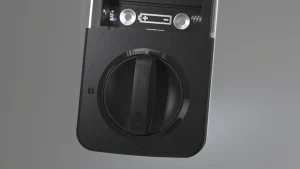
Next, pick up the black motor module, and rotate the knob to the ‘Unlocked’ position and then remove the battery cover.
Plug in the white motor module cable into the back of the motor module.
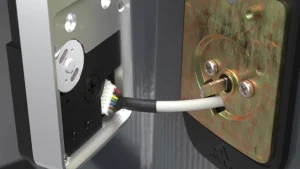
Place motor module onto the backplate, and secure using supplied screws.
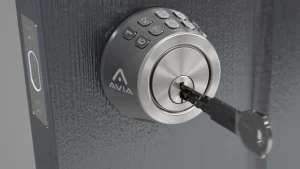
Test the operation of the lock by rotating the thumbturn on the motor module, and then also using the manual key on the front of the Deadbolt+ lock.
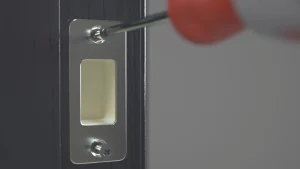
Fit the faceplate using supplied fixings.
Close the door and test for smooth operation.

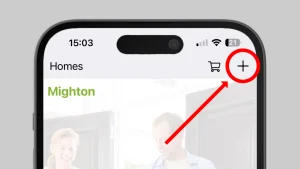
Install the Avia iOS app ready to setup the new device.
https://apps.apple.com/gb/app/avia/id1405539855

Install 4x AA batteries and once installed listen for a single beep. The beep indicates that the lock is in pairing mode.
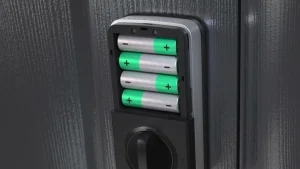
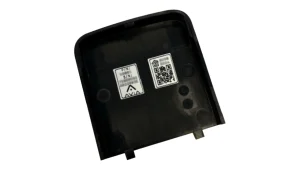
Please note the setup code is located on a sticker on the inside of the battery cover.
From the beep, the lock will stay in pairing mode for a maximum of 60 seconds. To pair the lock with your iPhone, simply click the Add (+) button in the Avia iOS app. To restart pairing mode, press and hold button C for 10 seconds.